Have a Question? ASK THE EXPERT

Free Shipping On All Orders $150+

0

Your Cart is Empty

By Category
  • Rust Preventive Coating

  • POR-15 Rubberized Undercoatings

    Bedliner & Undercoat

  • POR-15 Rust Remover Dissolving Bath Solution

    Rust Remover

  • High Temp Coatings

  • Patch & Putty

  • Preparation Products

  • POR-15 Topcoat Paints

    Topcoats

  • Car Detailing

  • Accessories

  • POR-15 Primers

    Primers

  • Fuel Tank Repair

  • Kits

  • By Use
  • Restoration

  • Maintenance

  • Resto-Mod

  • Fuel Tank Sealer

    item(s): 49216

    Size

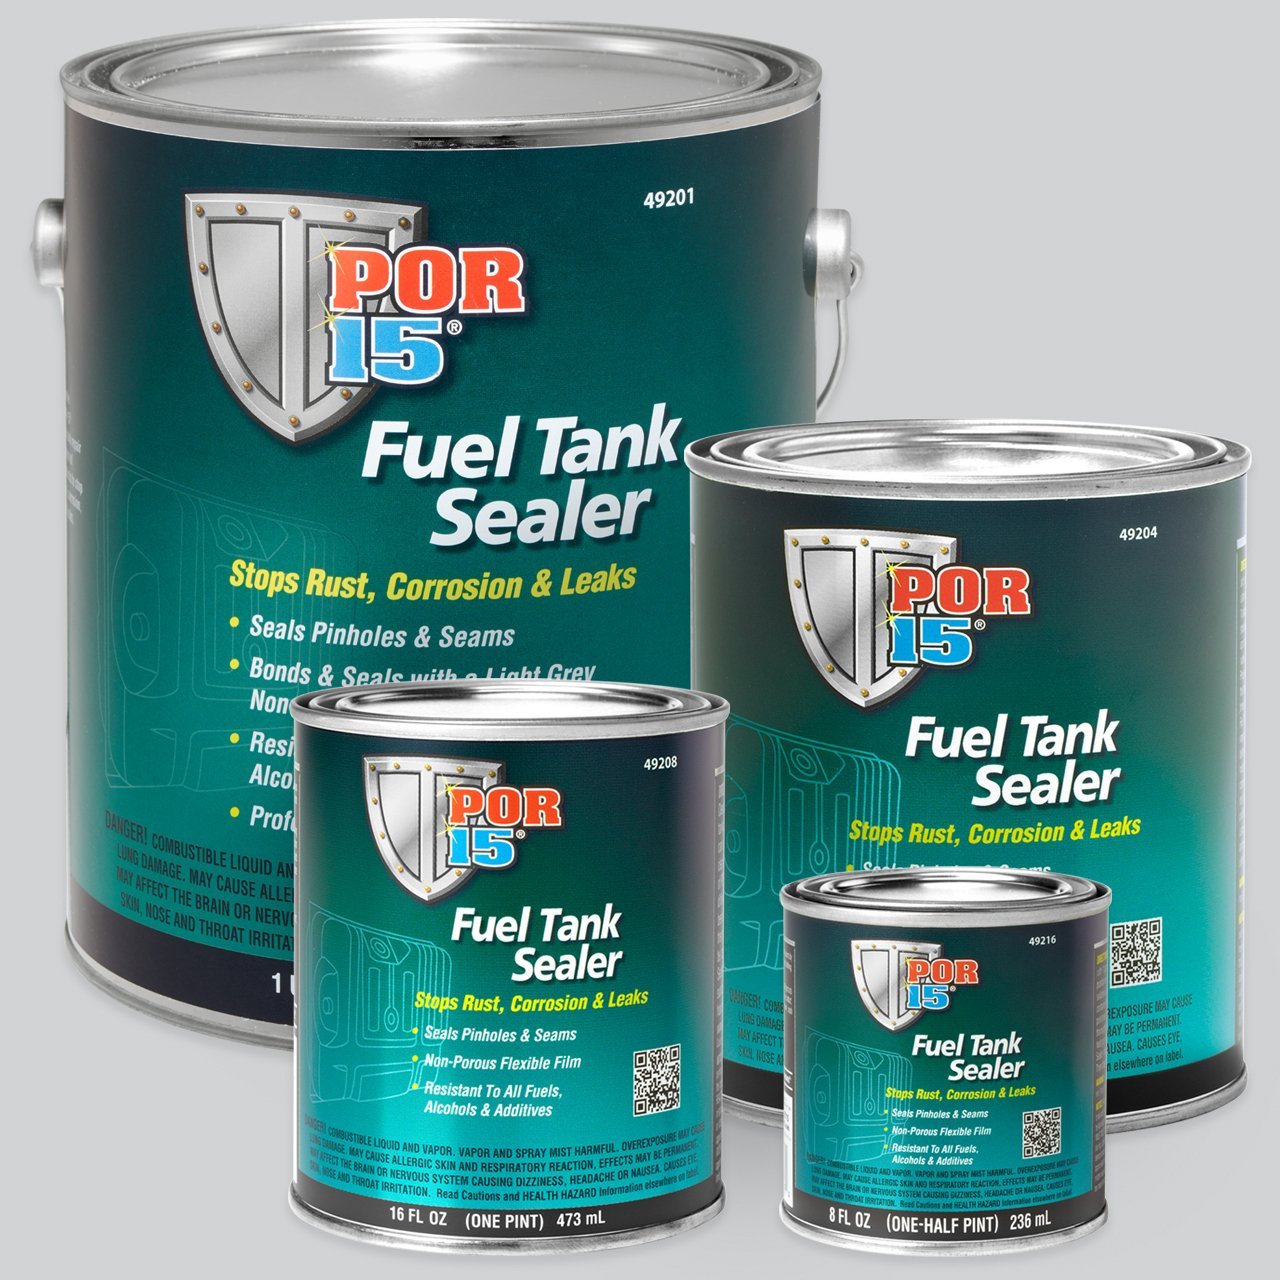
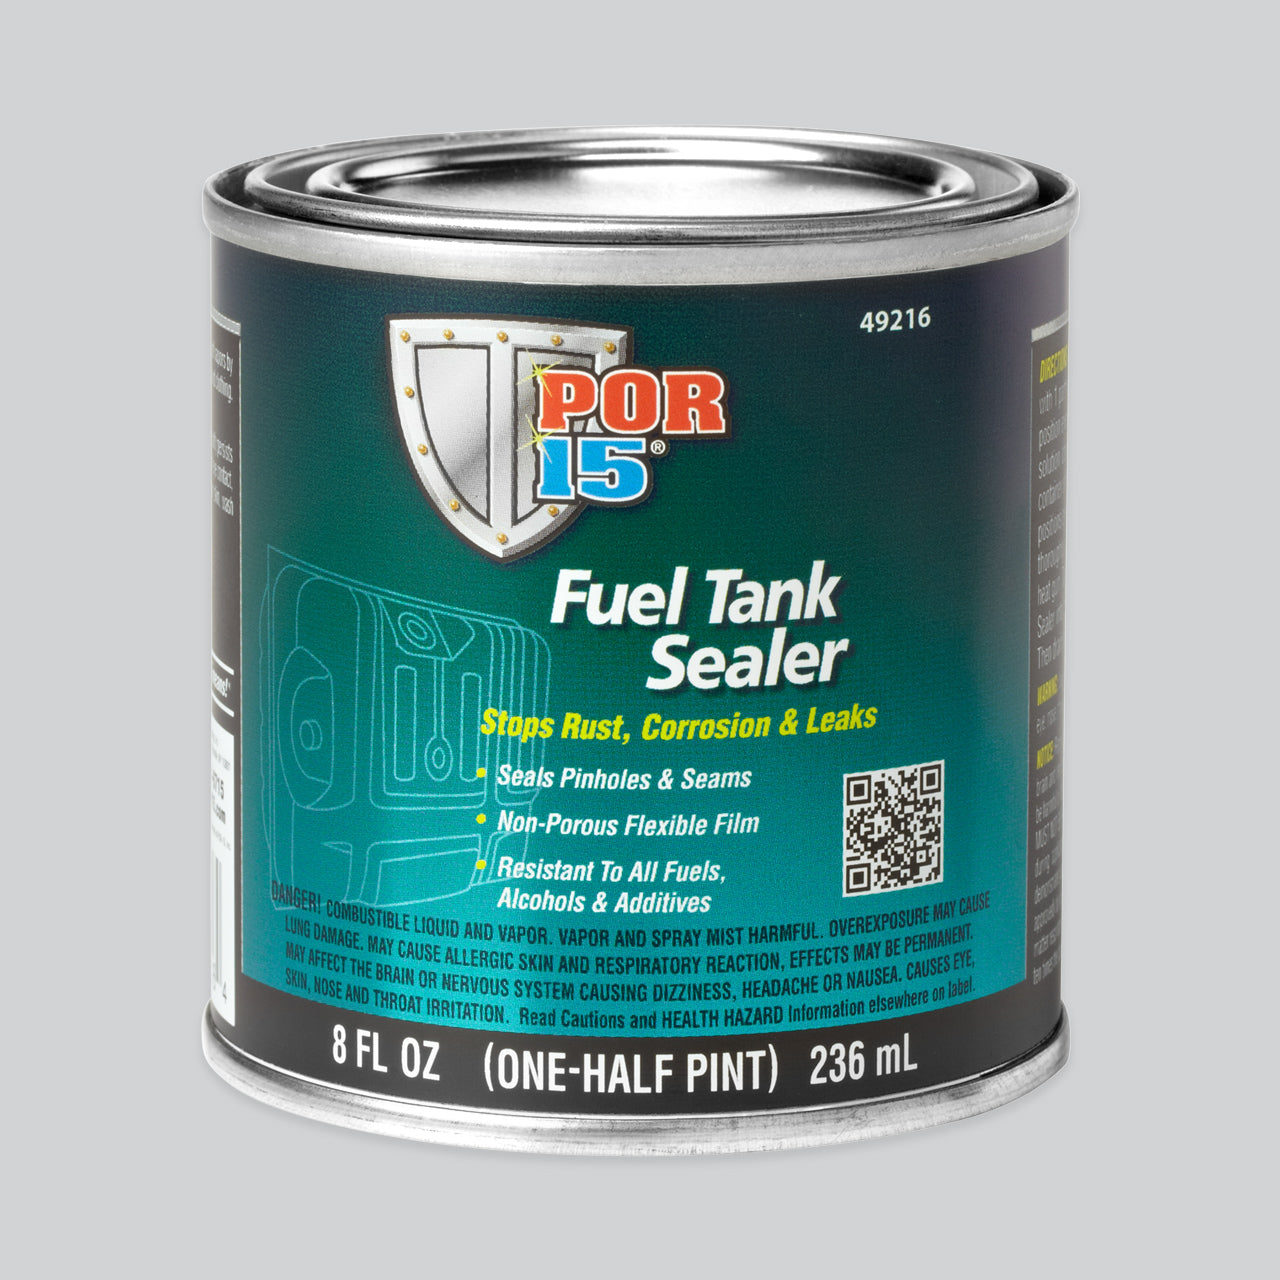
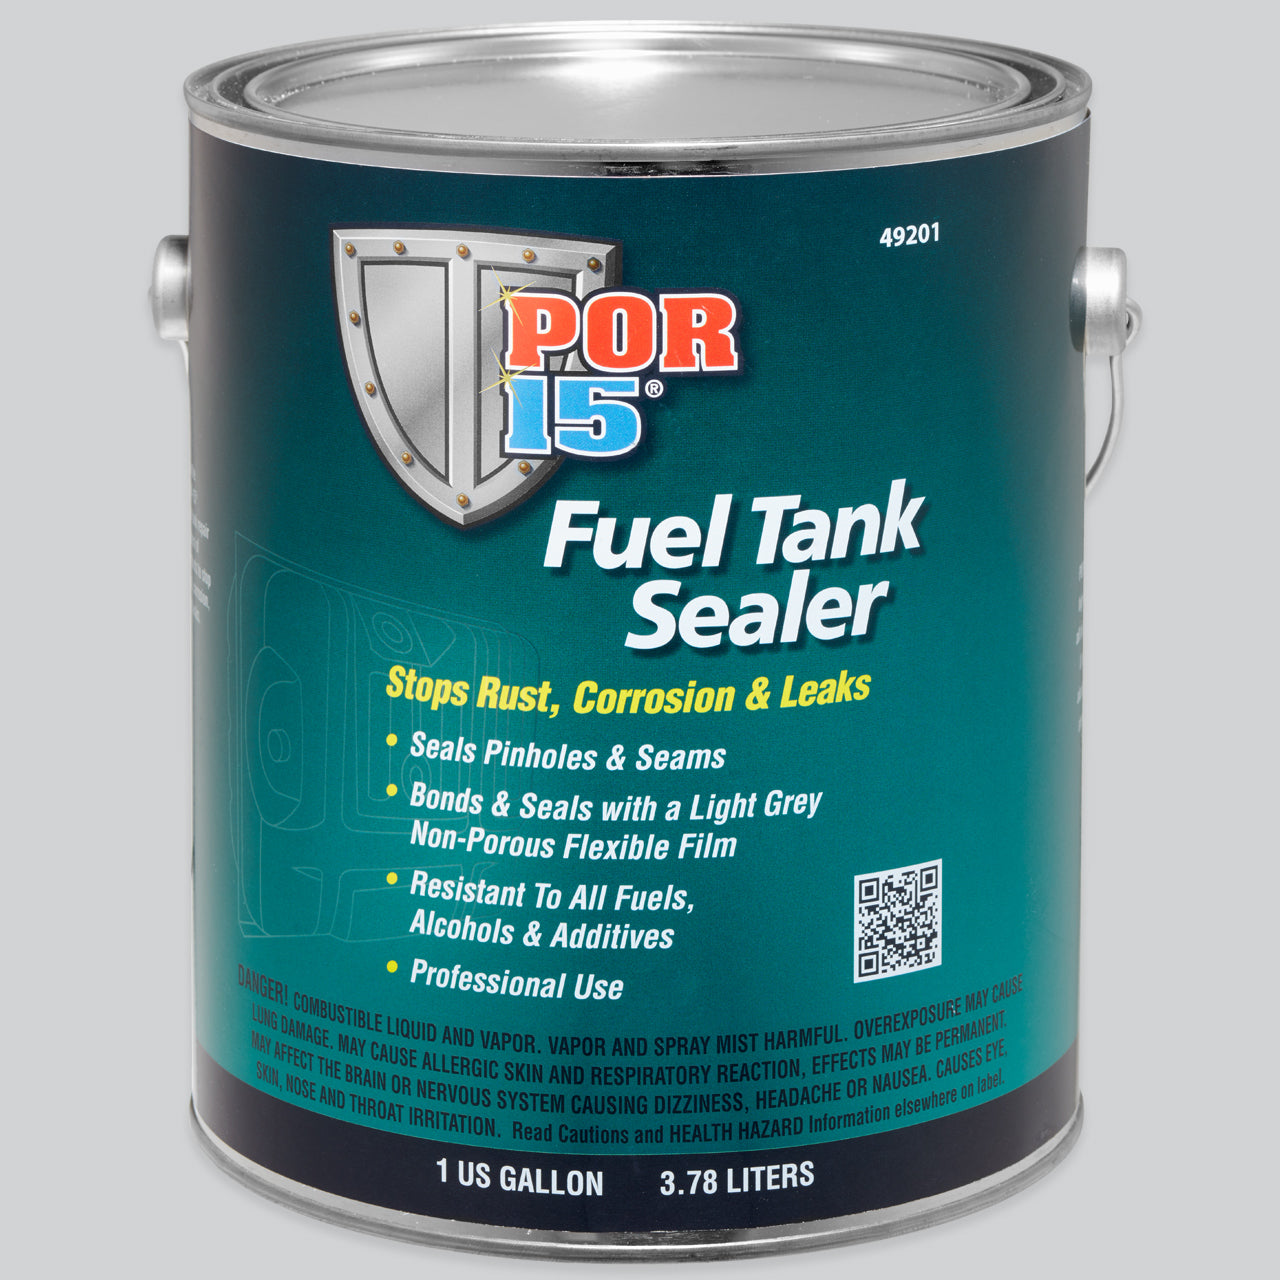
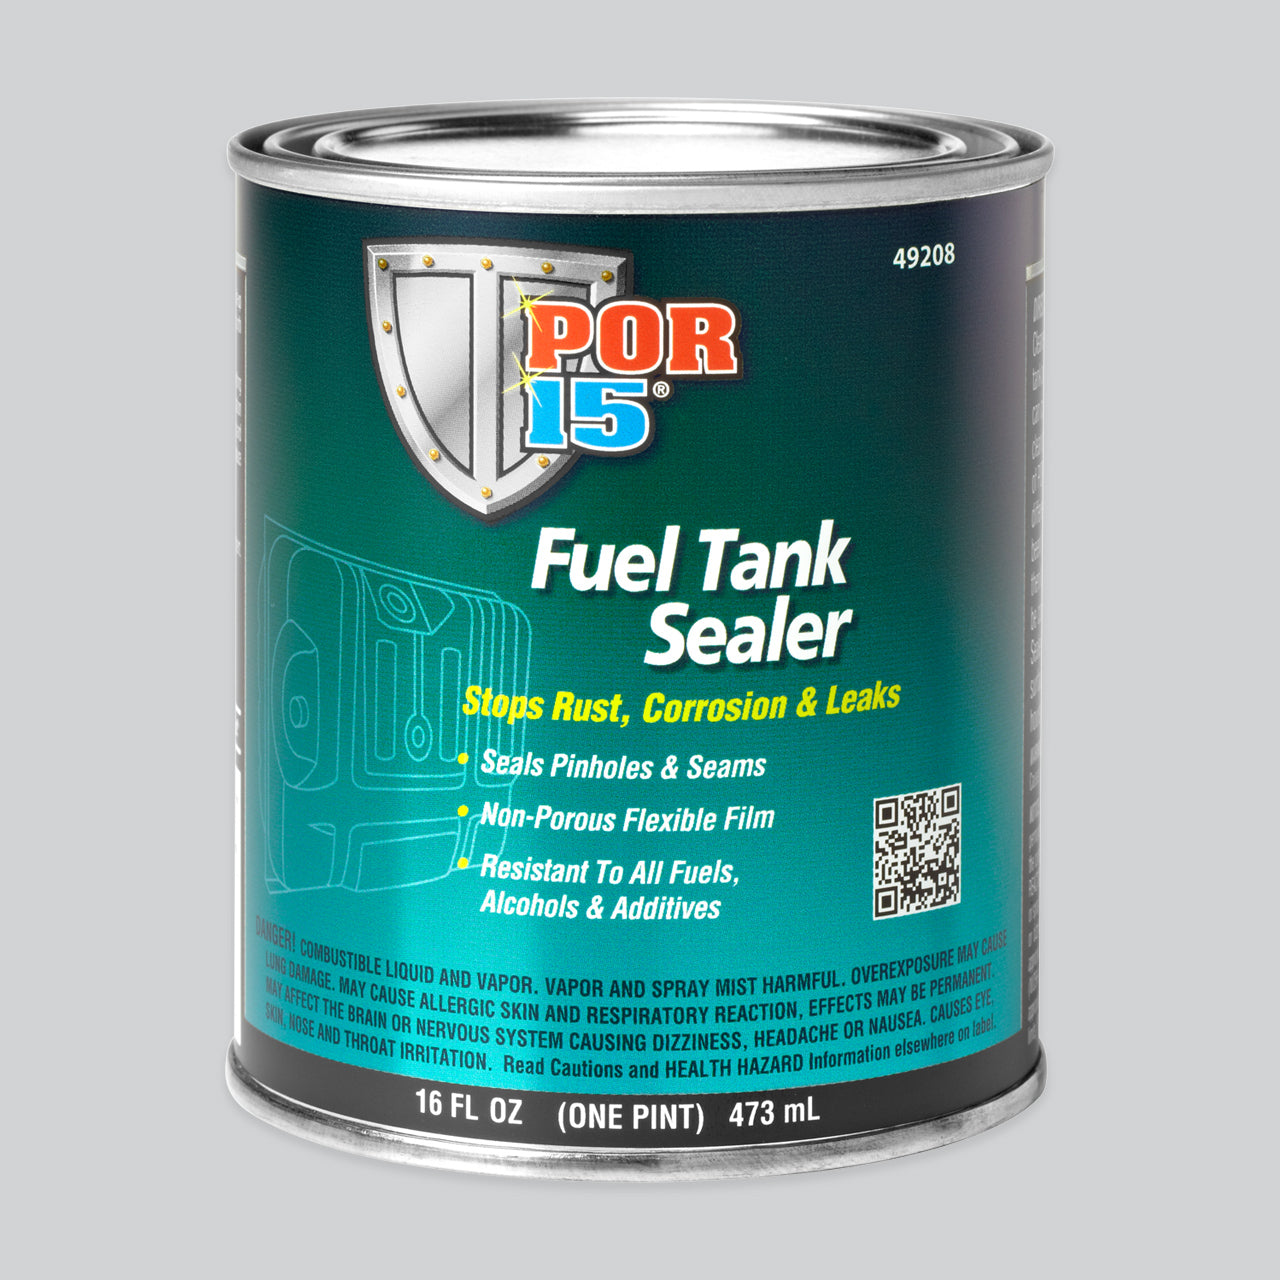
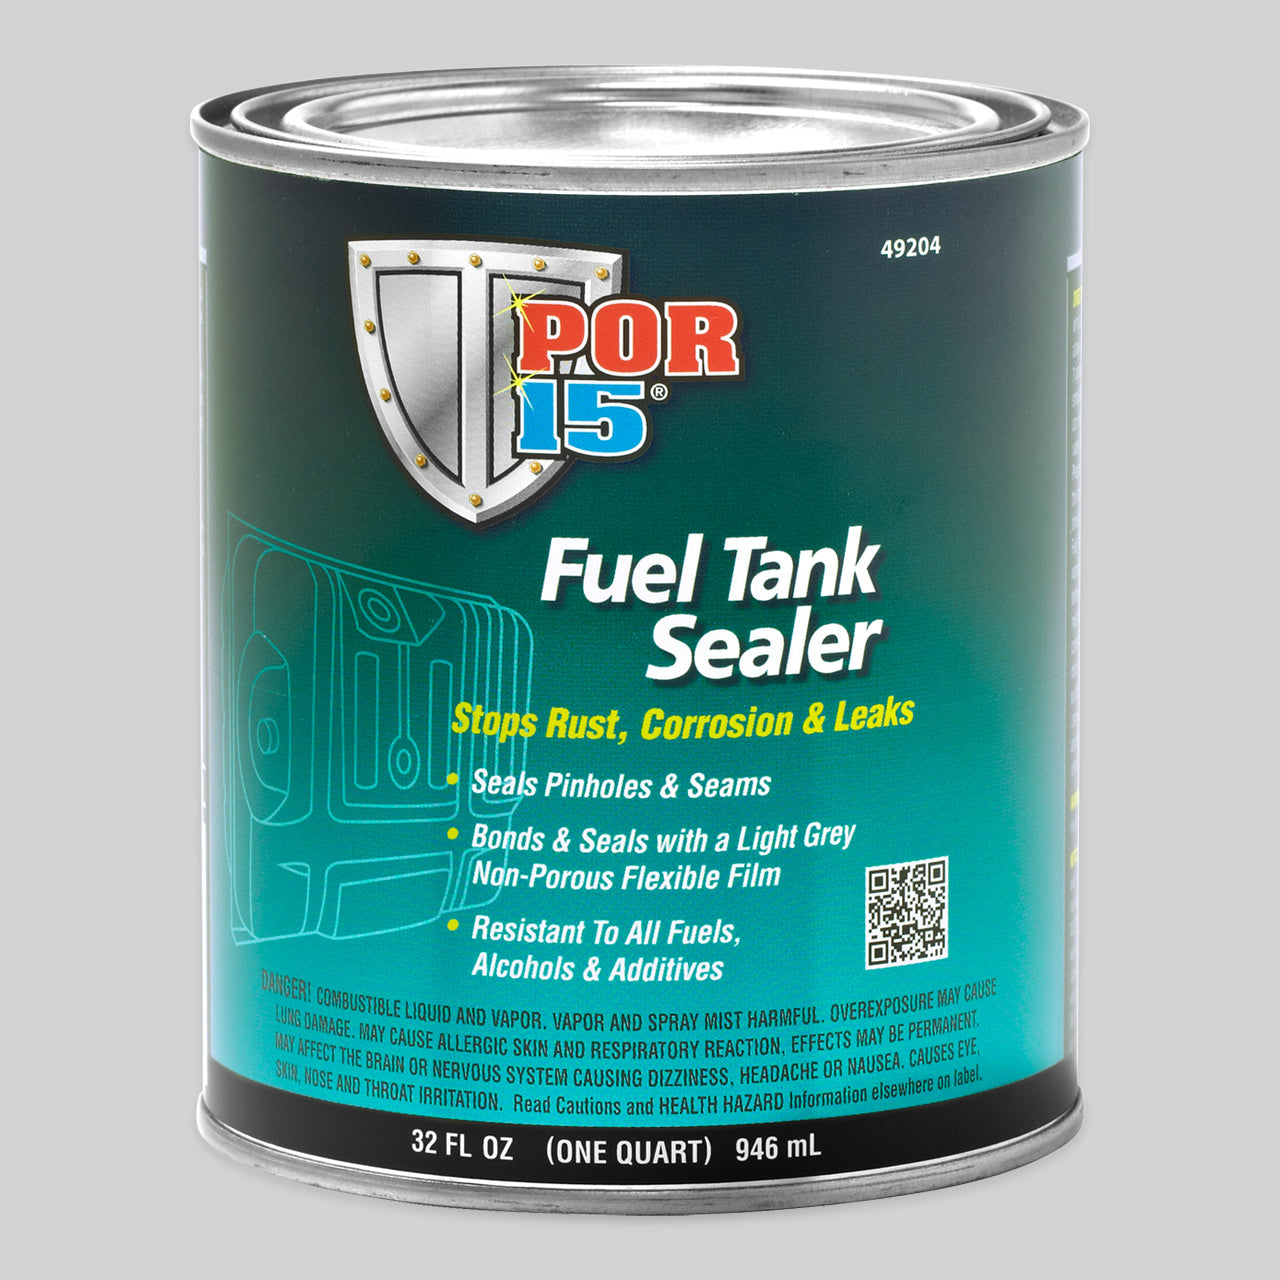
    POR-15 Fuel Tank Sealer

    POR-15 Fuel Tank Sealer was Formulated for metal and developed as a high-tech sealer that is impervious to all fuels, including the diesel, E10 ethanol, and high alcohol content fuels. This gas tank sealant comes in a silver color and has superior strength with fuel resistance. Also, this fuel tank coating acts as a liner and stops rust, corrosion, and small fuel leaks. Fuel tanks must be free from plastic parts, contamination, and be structurally sound before applying sealer. Gas tanks should be free from loose rust, old sealers, cleaned with POR-15 Cleaner Degreaser, and etched with POR-15 Metal Prep for best adhesion.

    Color: Silver

    Coverage of this Gas Tank Sealer:

    • 8 fl oz is enough to coat the inside of a 6 gallon fuel tank
    • 32 fl oz (quart) is enough to coat the inside of a 25 gallon fuel tank

    Formerly U.S. Standard Fuel Tank Sealer


    - POR-15 Fuel Tank Sealer Technical Data Sheet


    Step-by-Step Restoration

    Before Fuel Tank Repair
    Before: This fuel tank had small pinhole leaks on the end near the seam. If the tank had a competitors old failed sealer, it should be removed with POR-15 Strip Gel before starting the repair process.
    Step 1 fuel tank repair
    Step 1: Mix 1 quart of POR-15 Cleaner Degreaser with 1 quart of hot water. This solution will be used to remove any gum, varnish or sludge from the inside of the tank.

    Step 2 fuel tank repair
    Step 2: Pour the entire bottle of POR-15 Metal Prep to dissolve rust, coat the tank with zinc phosphate, and etch the metal for better adhesion of the sealer.

    Step 3 fuel tank repair
    Step 3: After the tank is clean, drain the tank and rinse thoroughly with water. Let the tank dry. When totally dry, pour in the entire can of Fuel Tank Sealer.

    Step 4 fuel tank repair
    Step 4: After all surfaces have been coated, drain the tank for about an hour to remove excess sealer from the tank.
    Completed fuel tank repair
    Step 5: Once repaired, use fuel preservation & stabilizer to keep your entire fuel system in proper working order and to avoid "stale gas" problems in your future!

    Customer Reviews

    Based on 77 reviews
    91%
    (70)
    6%
    (5)
    3%
    (2)
    0%
    (0)
    0%
    (0)
    M
    Malisa Jennings
    Por-15 saved my one of a kind tank

    I have a special painted, one of a kind tank on my 1988 883 Sportster that started leaking. I didn't want to replace it to a stock tank so I researched and found Por-15 and tried it out. I followed directions exactly as written and the inside of my tank looks brand new and no leaks! I am happy to be riding again! I highly recommend this product.

    K
    Kirk Wines

    Fuel Tank Sealer

    K
    Kent Weeks
    It's all good

    Not the first time using your product so I knew what I was getting, never had a problem with your liners before so I'll keep coming back . .and I'll call if I ever do have any issues, direct communication always suits me best

    M
    Milan
    Excellent

    Excellent product. Guarantee results. Easy to apply.

    G
    Gary Brown
    Hopefully this worked for the tank. But I just did it.

    The only issue I had was the instructions varied a little and I was not sure if I did it right. I used the quart of degreaser and on that bottle it said to mix anywhere from 4 to 1 or up to 10 to 1 with hot water and shake it around. So I mixed the quart with 1 gallon of hot water to put in my 3.5 gallon tank on my welder engine. I sloshed it around and around and then thoroughly rinsed it. Then I used a heat gun to dry the tank. Then I followed the steps for the metal prep. Rinsed and dried. When I got to the sealer and read the directions on the can it said to mix the degreaser 1 to 1. But after the degreaser and metal prep it still looked like there was a residue in the bottom so I degreased it again and prepped it again then finally I did the sealer. I hope it holds up.

    - POR-15 Fuel Tank Repair Kit Directions

    It is important to understand each product in your repair kit and how it works. Proper chemical interaction is essential for achieving the best possible bond of the sealer to the inside of the tank. Fuel Tank Sealer does not adhere well to plastic. If your fuel tank contains plastic components inside, they should be removed before applying Fuel Tank Sealer.

    Please remember these instructions are general guide lines only and cannot and do not cover every application and environment. If you remain unsure as how to proceed, please call toll-free for technical advice at 800-457-6715.